
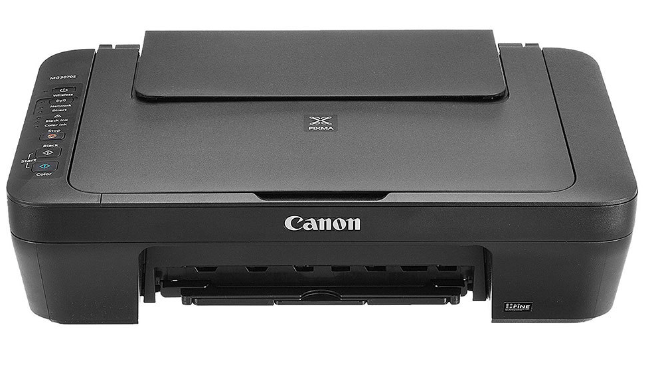
“Setting up canon wireless printer” is used to connect a user’s computer and the canon printer via a wireless network. If a wireless connection is established, there will be advantages of printer anywhere using the device. If a file is saved in the device and it needs to be printed, just select the file and get it printed. There are multiple brands of printer in the market. Canon is the first choice of the users when it comes to perfect print. Canon is well-known for its high quality printing. We can setup a canon printer on our Mac, windows, ipad, iphone, ipod or android phone. Press our printer wireless to connect option, and the information stored on our device with our wi-fi password and name will automatically be moved to make the setup process quicker and simpler than any time. Steps to “set up a canon wireless printer” • First to turn on your printer. • Next click the settings option and then press the arrow button and once you go to the device settings then, press “OK”. • Now press the arrow button until we see the LAN settings and then press “OK”. • Click the arrow button until we move on to the wireless LAN set up and then press “OK”. • Then the printer will start searching for the wi-fi network and meanwhile, the light will be blinking. • If in case the searching process takes too long, we can press “stop” and it will again go to the wireless LAN set up, standard set up and then press “OK”. • Click the arrow button until we find your Wi-Fi network and then press “OK”. • Now finally you enter your password for the Wi-Fi and then press “OK” • Now moving on the second part of adding our canon wireless printer to your computer. • After connecting your Canon wireless printer to the Wi-Fi connection, then connect it to the computer to get it to work. So, here are the steps to connect your canon wireless printer to the computer.
You may like


5 Powerful Astrological Reasons Behind Late Marriage – Maa Ambe Jyotish
5 Powerful Astrological Reasons Behind Late MarriageBusiness Shared Hosting Tampa, Shared Website Hosting - AceHost.com