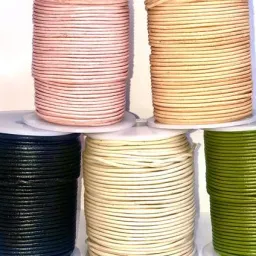
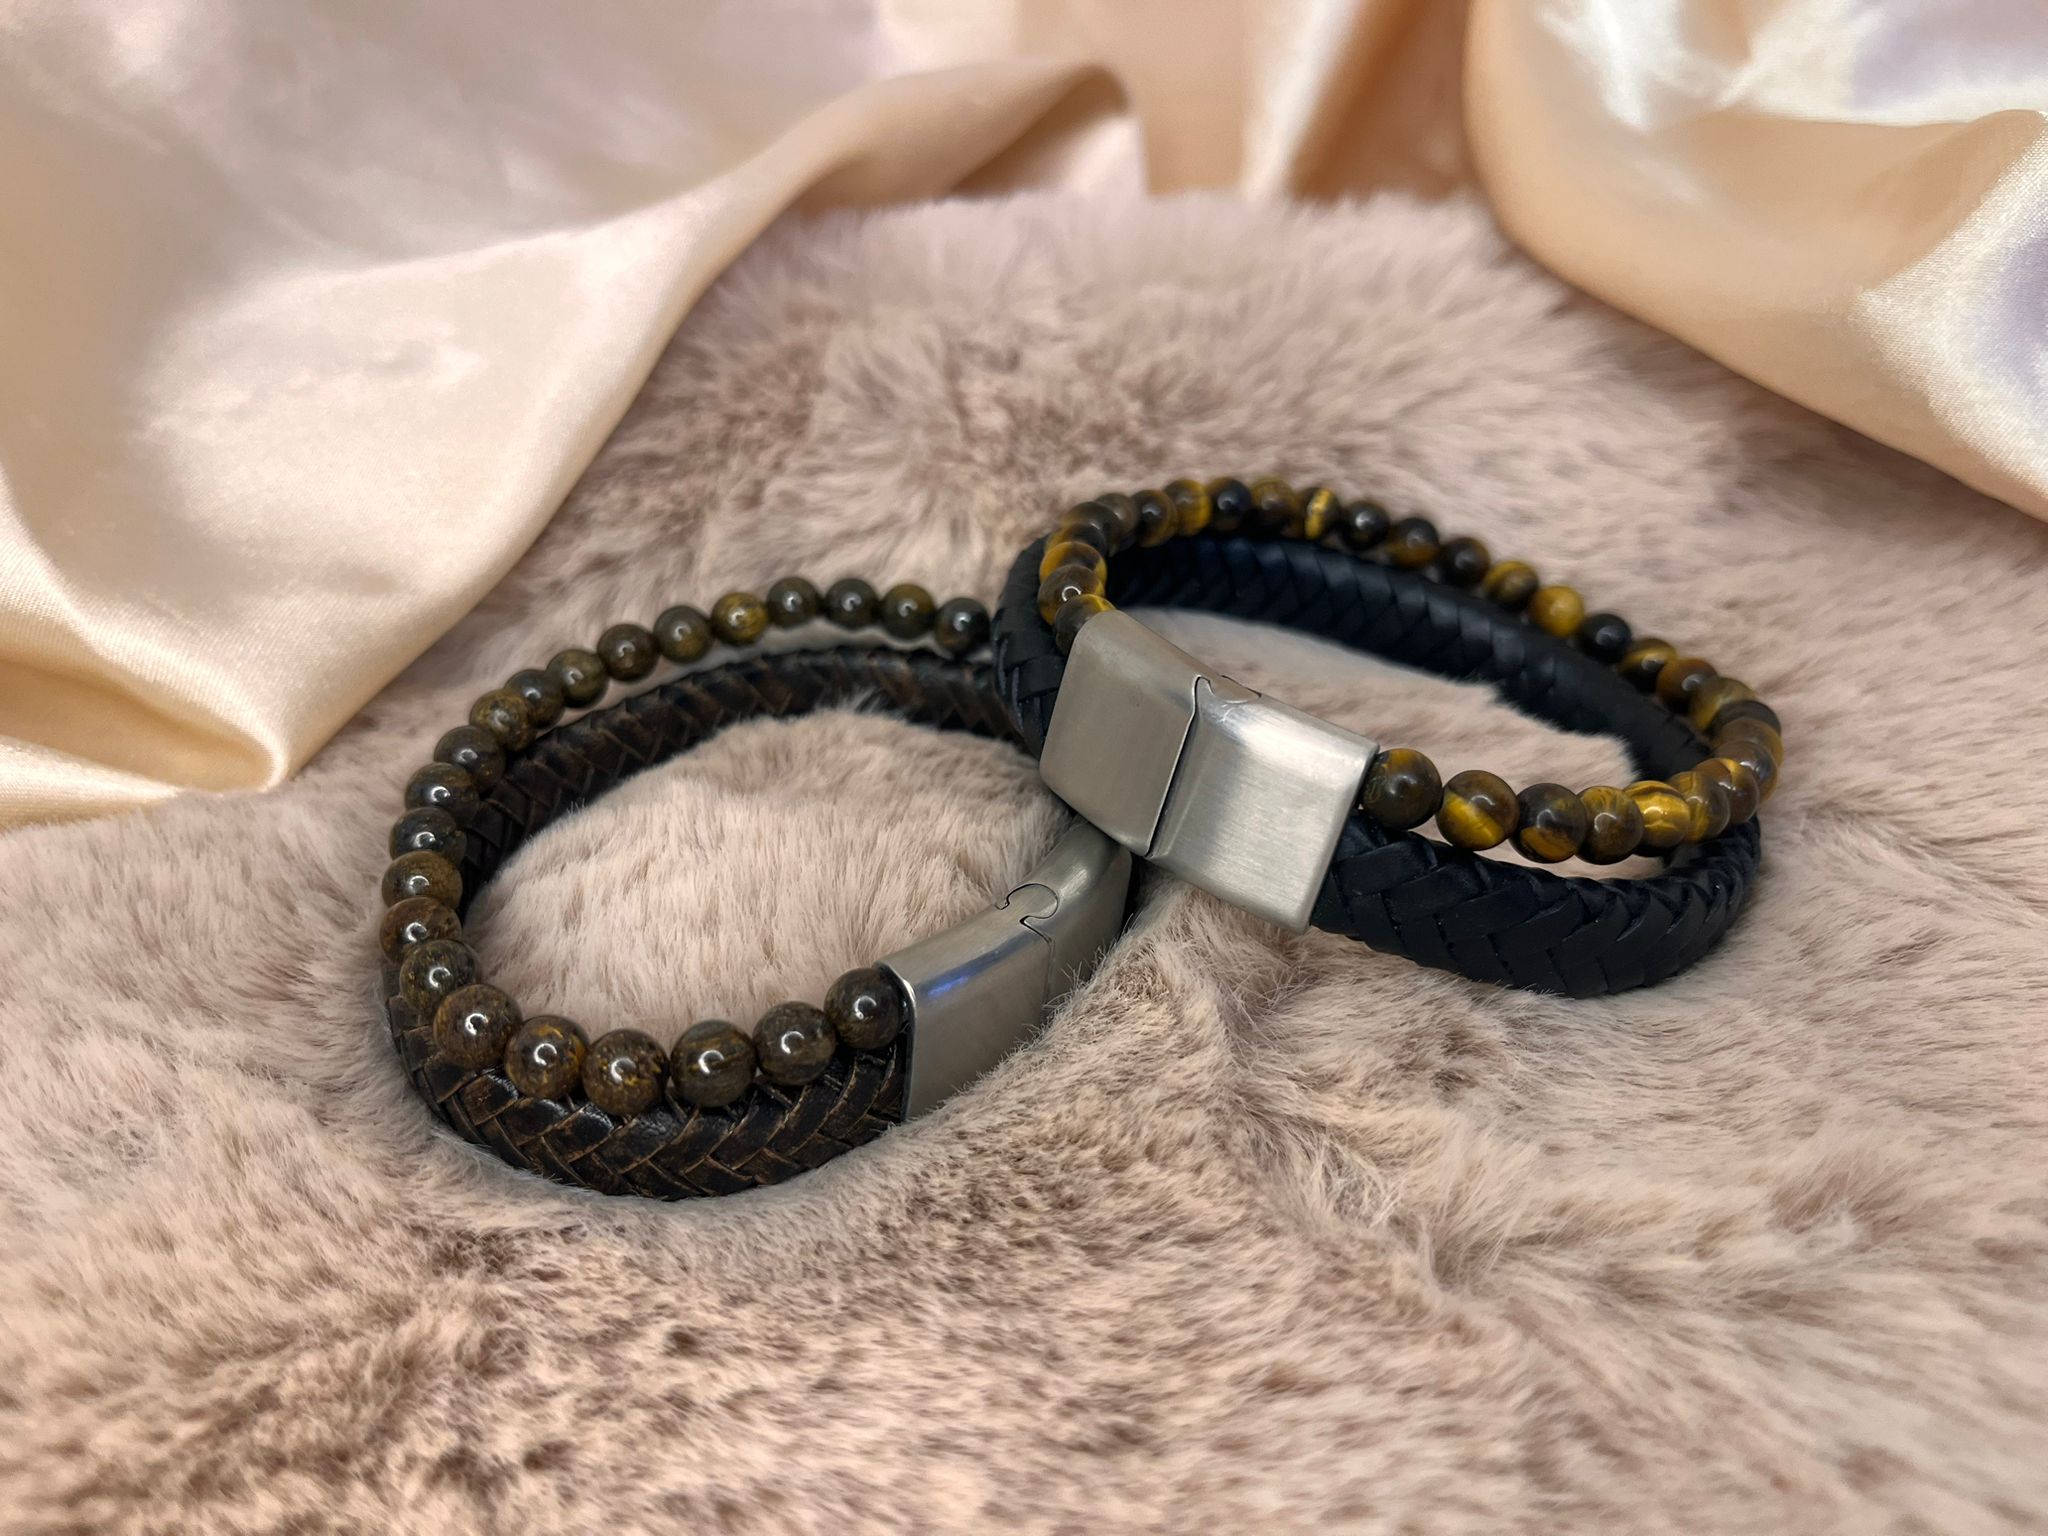
# A Beginner’s Guide to Using a DIY Leather Cord Bracelet Kit Making handmade jewelry is a fun and creative activity that many people enjoy. Among the easiest projects for beginners are leather bracelets, which combine style, durability, and versatility. With a DIY bracelet kit that includes leather cord and basic jewelry components, anyone can create personalized accessories from home. This guide explains how to use a DIY leather cord bracelet kit and outlines the basic steps for designing your own bracelet. ## What Is Usually Included in a DIY Bracelet Kit? DIY bracelet kits are designed to simplify the jewelry-making process, especially for people who are new to crafting. Most kits include the essential materials needed to create one or more bracelets. Typical components include **leather cords**, decorative beads, spacers, sliders, and bracelet clasps. Leather cords may come in different styles such as round, flat, or braided cords, allowing makers to experiment with different bracelet designs. Many kits also feature **large hole beads for leather cords**, which are specifically made to fit thicker cords. In addition, some kits contain decorative pieces such as metal spacers or **gemstone beads for leather jewelry**, giving the bracelet a more unique and colorful appearance. ## Step 1: Pick the Leather Cord The first step when working with a DIY bracelet kit is choosing the leather cord that will form the base of your bracelet. The type of cord you select will influence the final style. **Round leather cords** are often used for classic bracelet designs and work well with large hole beads. **Flat leather cords** are ideal when using sliders or decorative metal components. **Braided leather cords** add texture and are often chosen for layered or bold bracelet styles. Selecting the right cord helps define the overall look of your bracelet. ## Step 2: Add Beads and Decorative Elements Once you have chosen the leather cord, you can start decorating the bracelet with beads and other components. Slide **large hole beads for leather cords** onto the cord to create spacing or decorative patterns. Mixing different bead styles, such as metal spacers or **gemstone beads for leather jewelry**, can add color and personality to your design. Many jewelry makers experiment with different combinations before deciding on the final arrangement. ## Step 3: Measure the Bracelet Length Before attaching the clasp, you should measure the bracelet to make sure it fits properly. Wrap the leather cord around the wrist and leave a little extra space to accommodate the clasp. After determining the correct length, carefully trim the cord using jewelry cutters or sharp scissors. Accurate measurement ensures the bracelet will be comfortable to wear. ## Step 4: Secure the Clasp The final step is attaching the clasp to both ends of the leather cord. Many DIY bracelet kits include **magnetic clasps**, which are very popular because they are easy to fasten and provide a secure closure. Depending on the clasp design, the cord ends may be glued or inserted into the clasp mechanism. Once the clasp is attached, the bracelet is complete and ready to wear. ## Creative Ideas for Bracelet Designs One of the advantages of using a DIY bracelet kit is the freedom to experiment with different materials and combinations. Try pairing braided leather cords with metal beads, or mix gemstone beads with minimalist designs for a more elegant look. Stacking multiple leather bracelets together is also a trendy way to create a modern layered style. ## Conclusion A DIY leather cord bracelet kit offers a simple way to start making handmade jewelry. By selecting the right leather cord, adding decorative beads, and attaching a clasp, you can easily create personalized bracelets. Whether you are exploring jewelry making as a hobby or looking for creative accessories, leather bracelet kits make the process enjoyable and accessible for everyone.
You may like

DIY Off-Grid Solar System - Portable Generator
gadgets, solar power station, power stations portable
Outdoor Parking and Storage Solutions in Northern Colorado
Northern Colorado’s storage landscape
Hard Water to Soft Water Solutions: Which System Is Right for You ? | Geekwatchnow.com
hard water to soft water