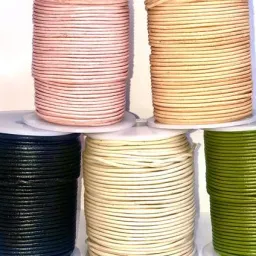
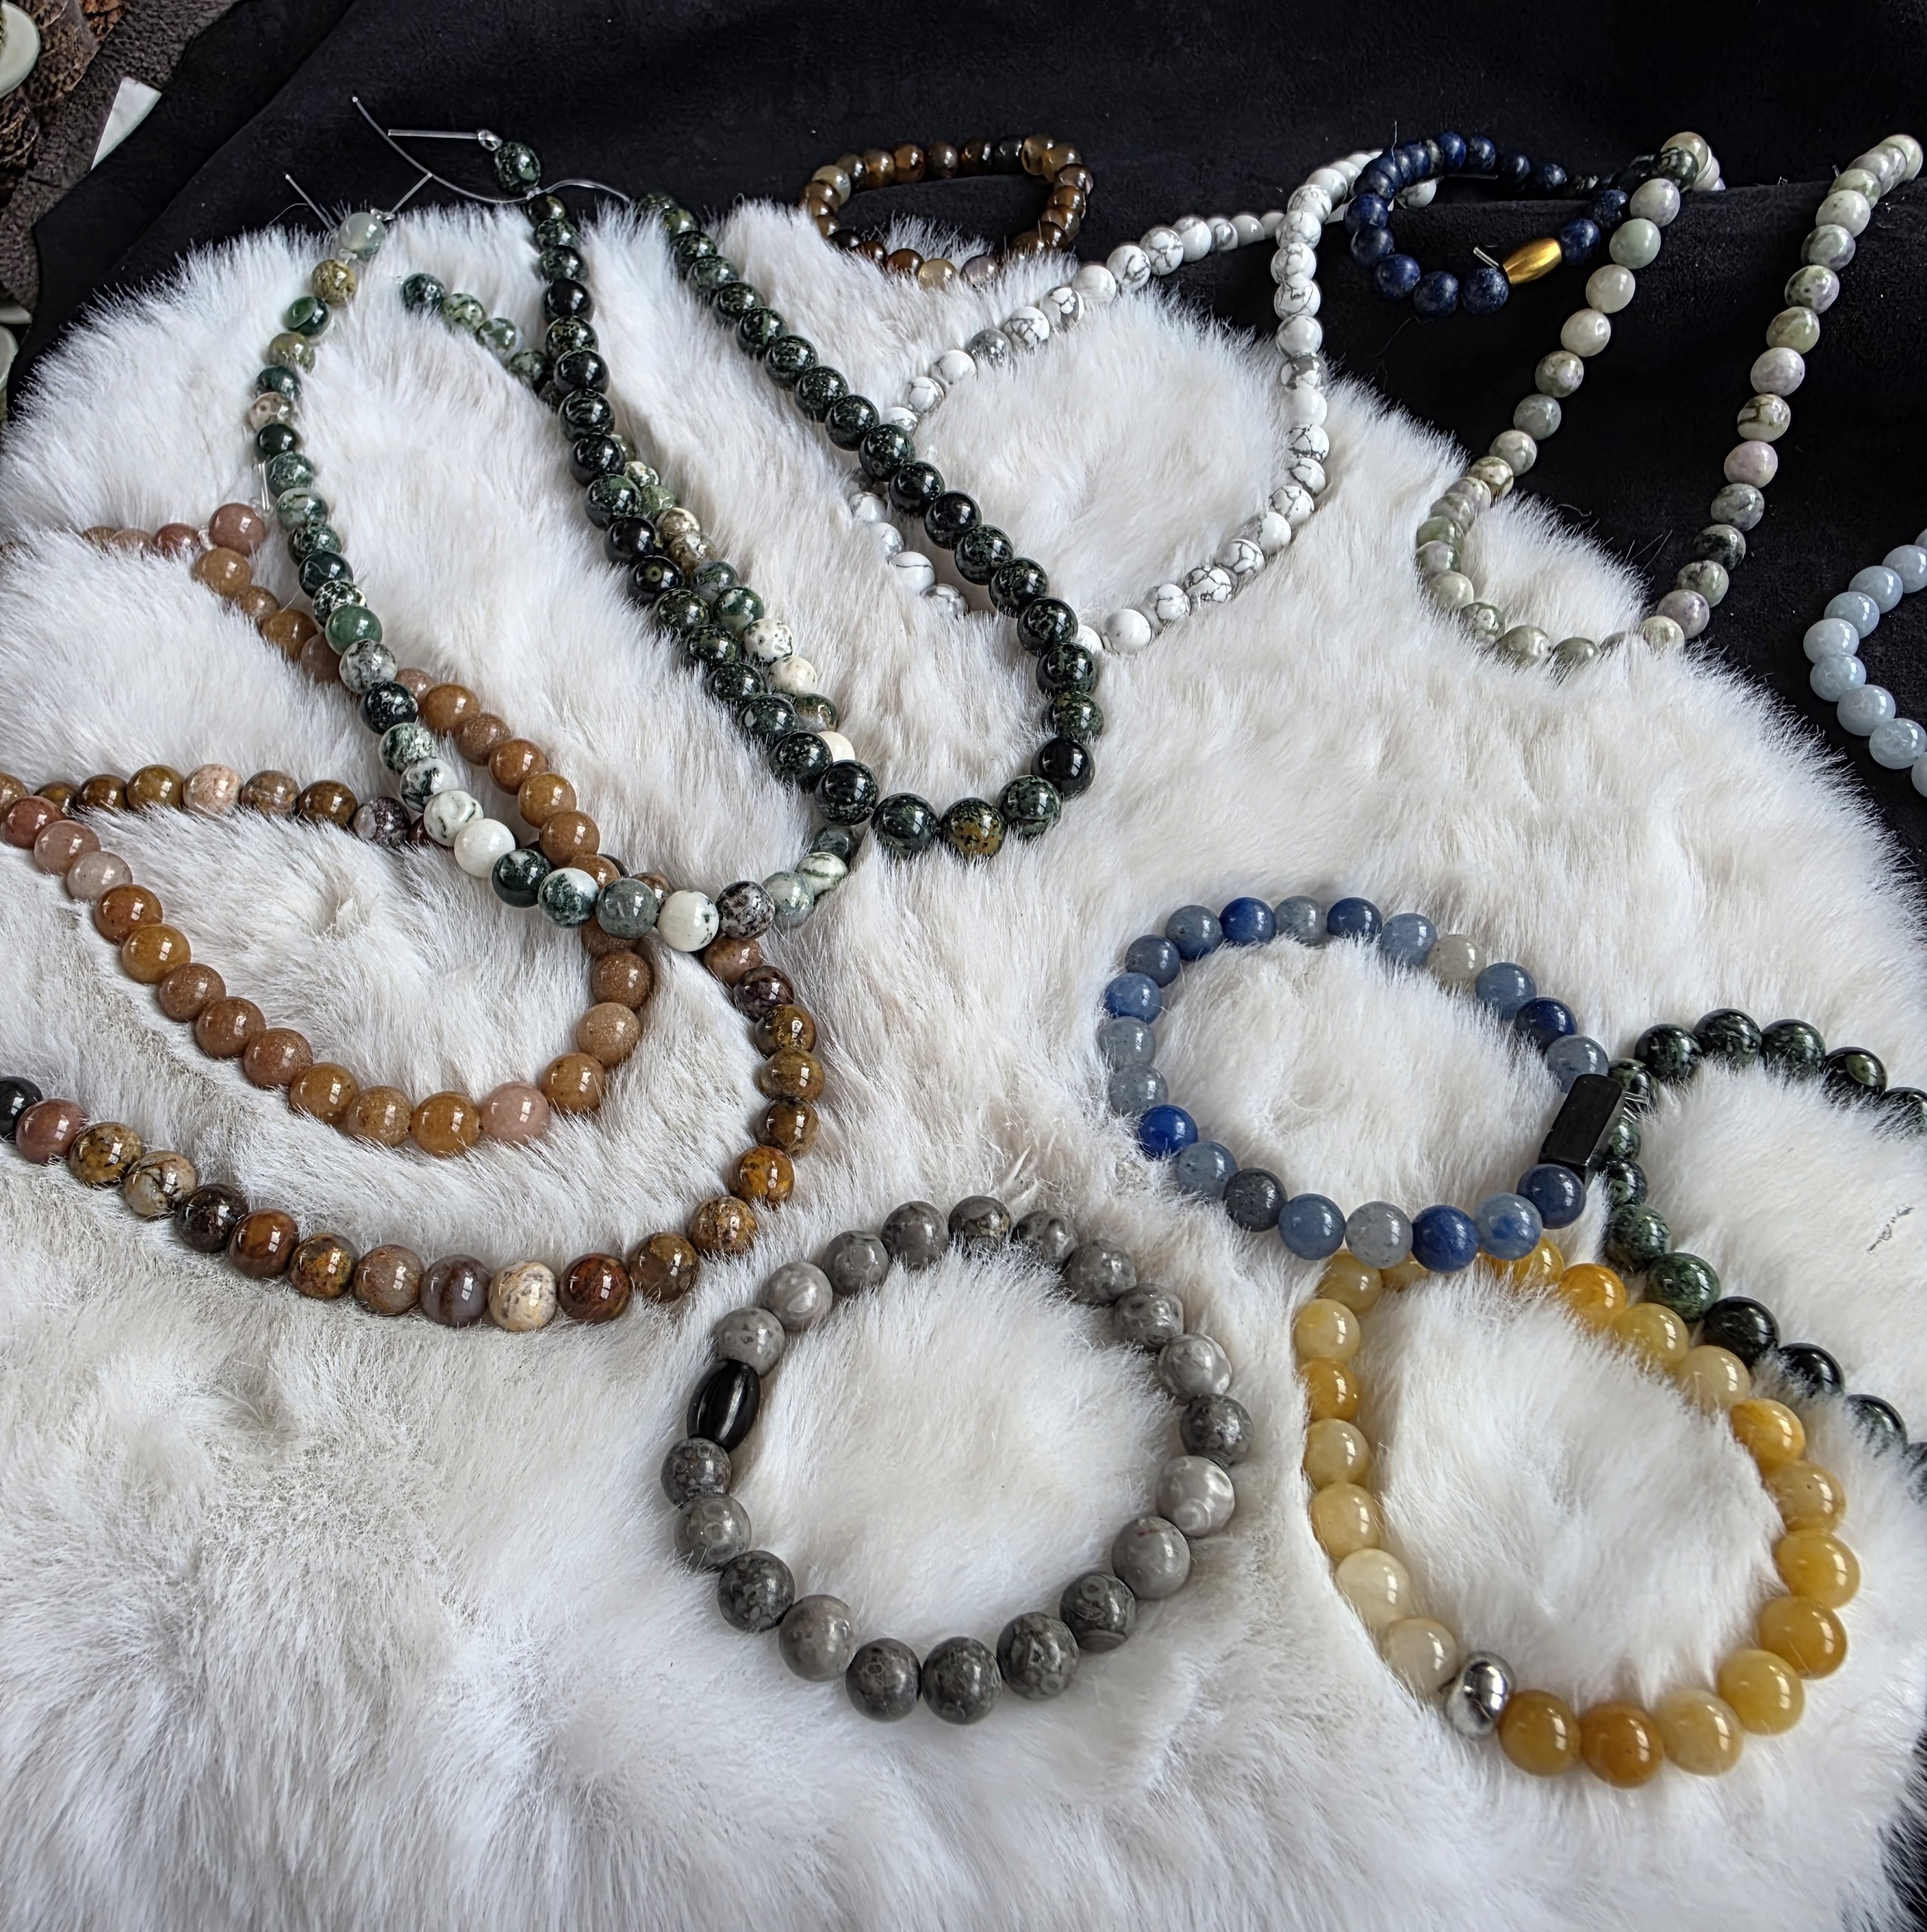
# How to Start Jewelry Making with a Jewelry Starter Kit Jewelry making is a creative activity that allows beginners to design their own accessories and experiment with different materials. One of the easiest ways to start learning this craft is by using a jewelry starter kit. These kits include the basic tools and materials needed to create simple handmade jewelry pieces. A jewelry starter kit helps beginners understand the fundamentals of jewelry design while practicing with different components such as beads, cords, chains, and decorative elements. What Is a Jewelry Starter Kit? A jewelry starter kit is a collection of tools and materials designed specifically for people who are new to jewelry making. Instead of purchasing individual supplies, beginners can start with a kit that already contains the essential items needed for basic projects. Most starter kits include beads, clasps, cords or chains, connectors, and small tools like pliers or cutters. Decorative elements such as charms, pendants, and gemstone components may also be included so beginners can personalize their designs. These kits allow beginners to create simple bracelets, necklaces, and other accessories while learning how different jewelry components work together. Step 1: Organize Your Jewelry Materials Before starting your first jewelry project, it is helpful to organize all the materials included in your kit. Separate the beads, chains, cords, and decorative elements so you can easily see what materials are available. Some kits may include materials like leather cords, silk cords, or different chain styles that can be used for various jewelry designs. Understanding your materials will make the jewelry-making process easier. Step 2: Plan Your Jewelry Design Once you have organized your materials, decide what type of jewelry you want to create. Beginners usually start with simple pieces such as bracelets or necklaces. Choose the beads, charms, or pendants you want to include and think about how they will be arranged. Planning your design helps create a balanced and visually appealing jewelry piece. Step 3: Prepare the Cord or Chain Next, prepare the cord or chain that will hold the beads and decorative elements. Measure the correct length for the jewelry piece you are creating. For bracelets or necklaces, it is important to leave a little extra space for the clasp. Carefully cut the cord or chain using the tools included in your jewelry starter kit. Step 4: Add Beads and Decorative Elements Once the base material is ready, begin adding beads and decorative components. Slide beads onto cords or attach charms and pendants to chains using connectors or links. Combining different materials such as gemstone chains or decorative connectors can help create more unique jewelry designs. Experimenting with different combinations will help you develop your creativity and jewelry-making skills. Step 5: Attach the Clasp The final step is attaching the clasp to both ends of the cord or chain. The clasp allows the jewelry piece to close securely and be worn comfortably. Using the pliers from your kit, carefully attach the clasp and check that everything is secure. Conclusion A jewelry starter kit is a perfect introduction to jewelry making. With the right tools and materials, beginners can easily create handmade accessories while learning basic design techniques. By practicing with different materials such as cords, chains, charms, and pendants, beginners can develop their skills and start creating unique jewelry pieces.
You may like
Buying a Black Iron Tee in 2026? Read This Guide First

Every hardwood floor tells a story, but years of daily use can leave visible signs of wear. Majestic Hardwood Floors…
hardwood floor installation Concord NC, floor refinishing Concord NC, hardwood flooring contractor Concord, wood floor refinishing Concord
At Tati's Beauty Studio, students receive comprehensive training that combines classroom knowledge with hands-on…